Was this helpful?
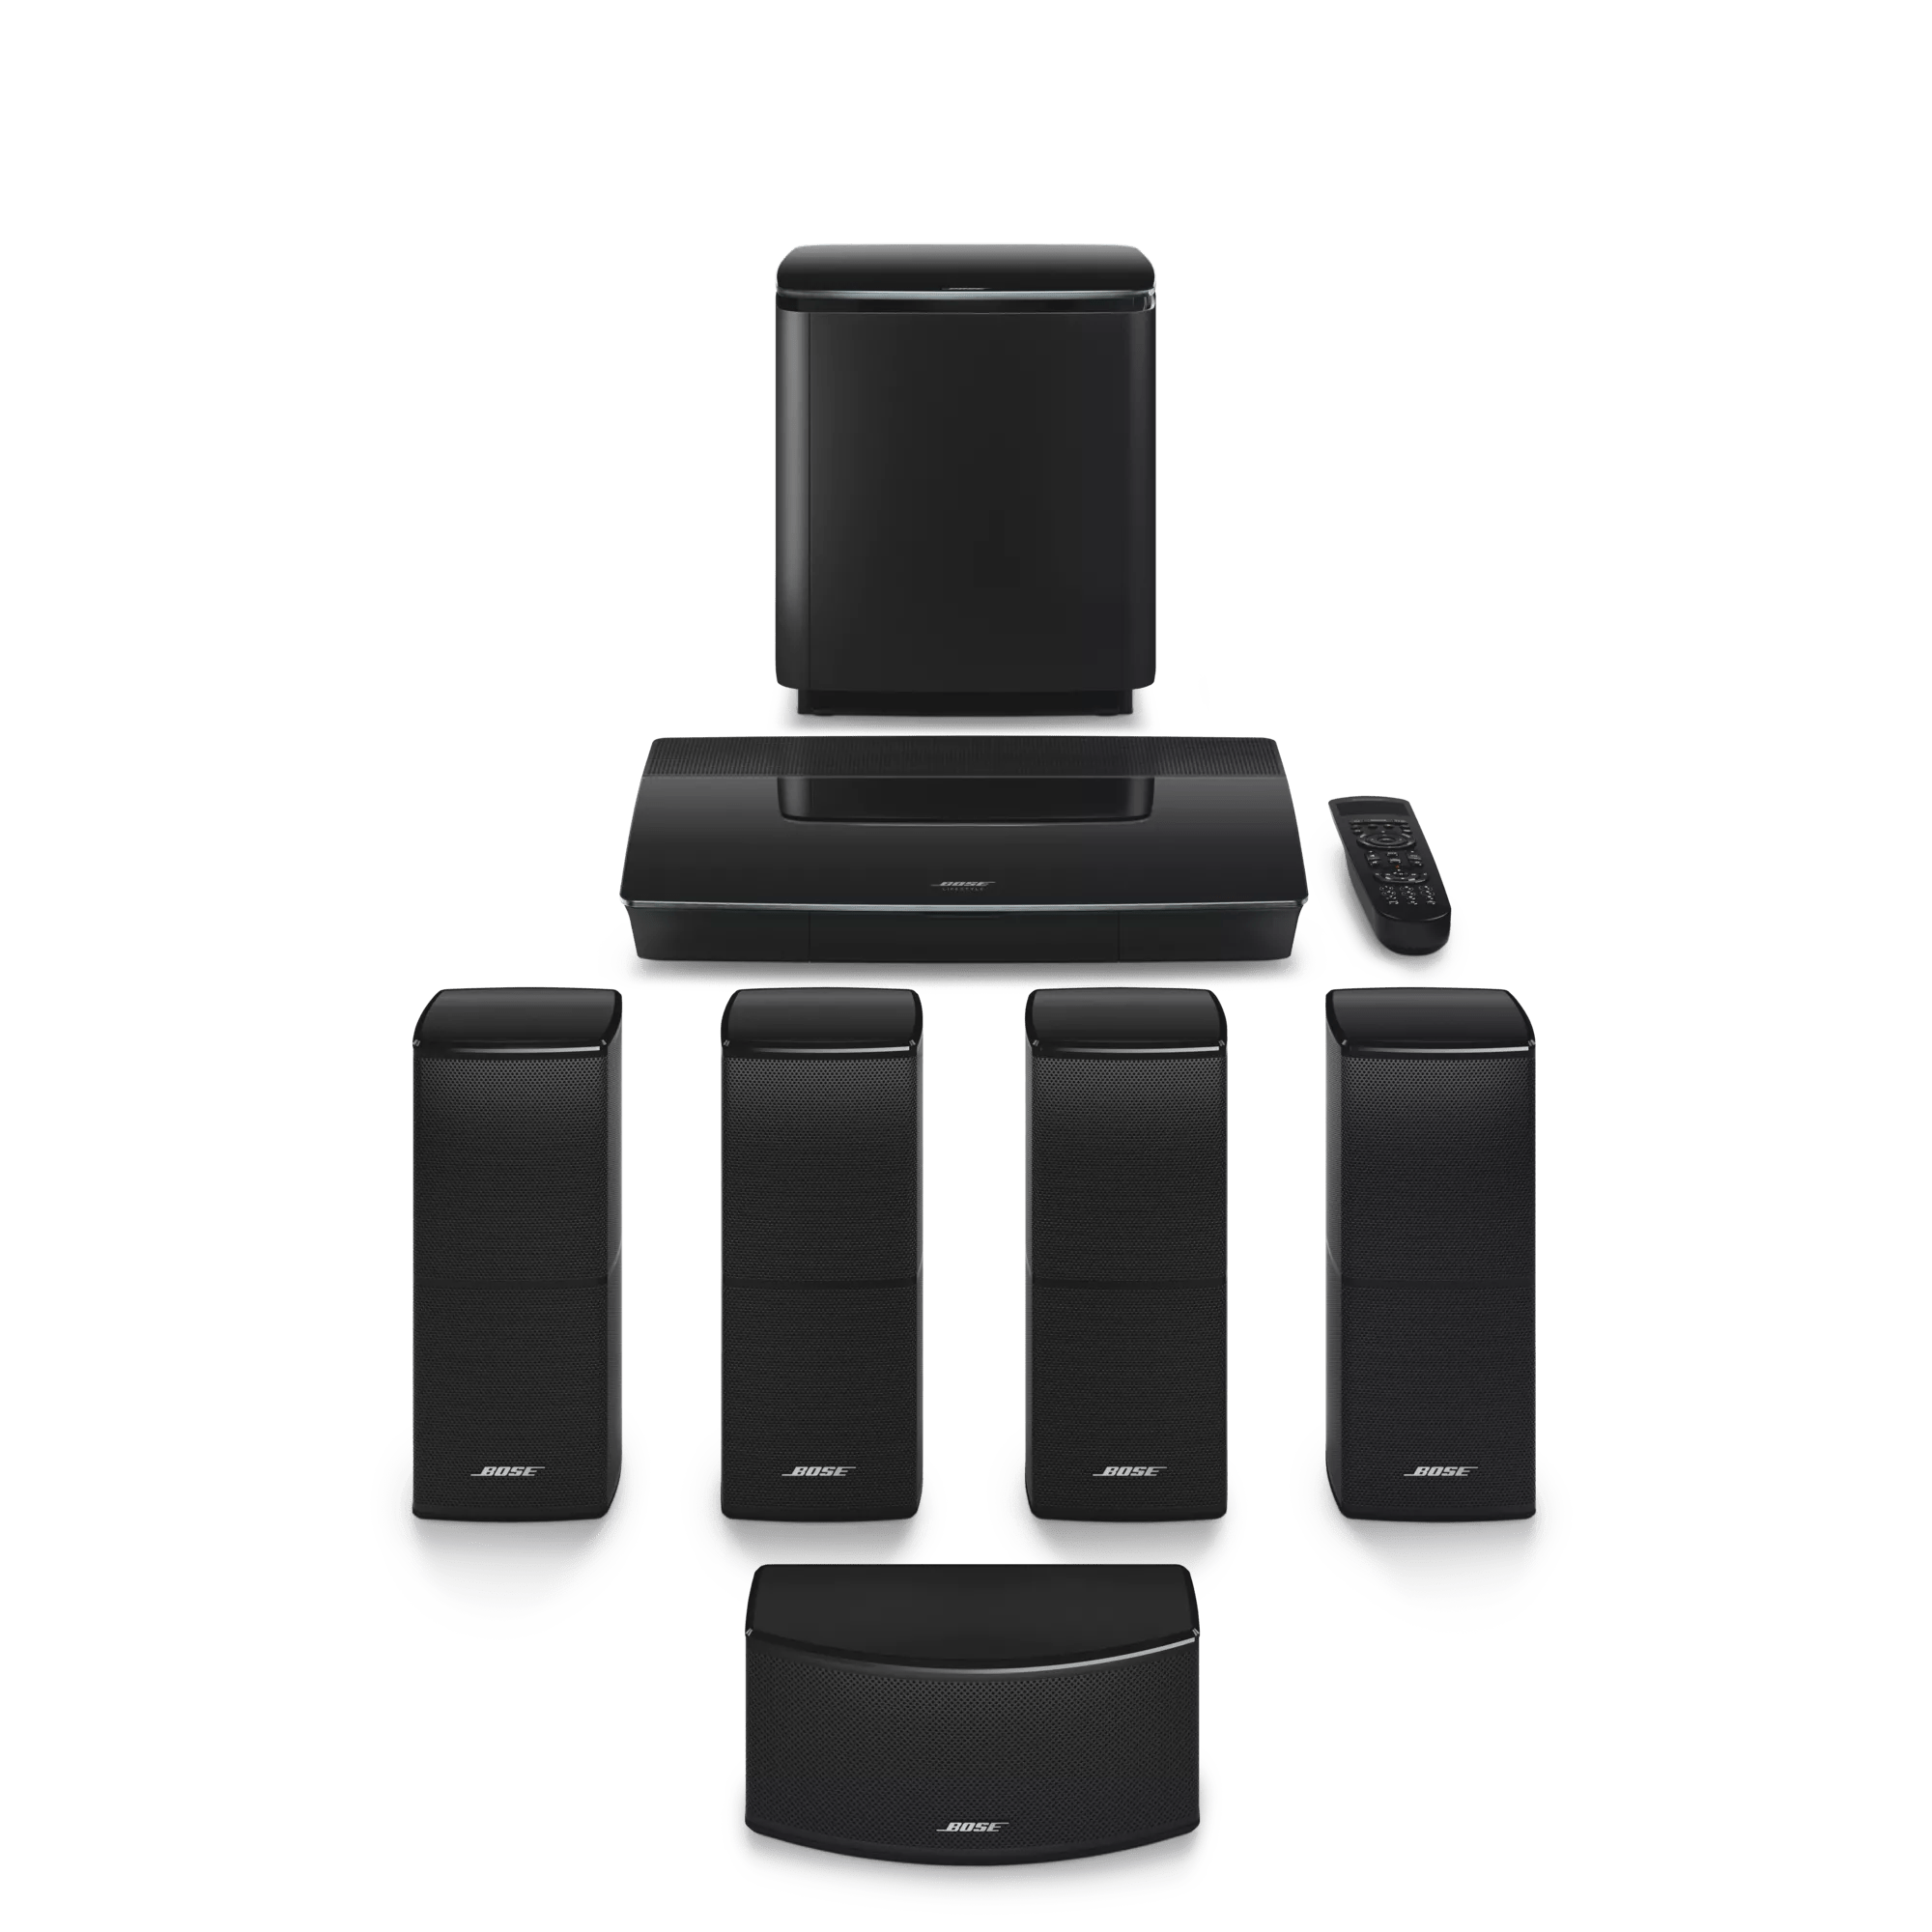
Setting up your product | Lifestyle® 600 home entertainment system
To connect the components of your system:
Connect the AC-2 speaker wire adapters
Connect the bare wire pairs at the end of the front and rear speaker cables to the five AC-2 adapters speaker wire adapters:- Use the included screwdriver to loosen the screws on the five AC-2 adapters
- Connect the black and red bare wire pairs on each speaker cable to the corresponding colored connectors on the adapters
Tip: Insert only the metal portion of the wires into the adapters - Use the screwdriver to tighten the screw on the adapters to secure the wires
Connect the front speakers
- Connect the front speaker cables to the 6-pin Front Speakers jack on the back of the media console. (Note: The 4-pin Front Speakers connector is not used)
- Connect the AC-2 adapters at the end of the front speakers cable to the front speakers:
- Connect the L+ cable to the speaker on the left of the TV
- Connect the R+ cable to the speaker on the right of the TV
- Connect the C+ cable to the center speaker
Tip: The left and right speakers are determined by your left and right while facing the TV
Connect the rear speakers
Using a wired connection:
If you are not using the wireless receivers, press the Teletext button on the remote (below the Blue button) to proceed.Using a wireless connection:
- Connect the rear speaker cables from the rear speakers to the wireless rear speaker receivers
- Set the switch on one wireless receiver to L (for the rear left speaker) and set the switch on the other recevier to R (for the rear right speaker)
Tip: The left and right speakers are determined by your left and right while facing the TV - Connect power cords from both wireless receivers to AC (mains) outlets.
Connecting the console, bass module and remote control
- Connect the HDMI cable from the OUT TO TV jack on the system console to your TV
- Connect the power supply from the POWER jack on the system console to an AC (mains) outlet
- Connect a power cord from the power supply to an AC (mains) outlet
- Connect a power cord from the bass module to an AC (mains) outlet
- Install the four batteries in the remote. Be sure to match the + and - markings on the batteries to the corresponding marks in the battery compartment
Run ADAPTiQ to maximize the system sound.
The ADAPTiQ audio calibration software, included with the system, automatically tests the acoustics of the listening area, analyzes speaker placement and tailors the sound of the system to the specific acoustics of the room.
- On the remote control, press the Setup button
- Tip: If the system menu does not appear on your TV, be sure the correct TV input is selected
- Scroll down to ADAPTiQ, then press the OK button
- Select Run and follow the on-screen instructions.
Frequently Asked Questions
How do I connect other devices to my system?
To connect audio from your TV:
Check if your TV has an HDMI connection labeled ARC.
Tip: You might need to enable CEC and/or ARC in the TV menu before sound if heard from your system.
For TVs with ARC:
Connect an HDMI cable from the HDMI ARC jack on the TV to the Out to TV jack on the back of the system console.Tip: You might need to enable CEC and/or ARC in the TV menu before sound if heard from your system.
For TVs without ARC:
- Connect an HDMI cable from the Out to TV jack on the back of the system console to an available HDMI input on your TV
- Power on your system and the TV
- On your remote console, press the SETUP button. (Tip: If the system menu does not appear on your TV, be sure the correct TV input is selected)
- Scroll to and select Advanced TV Audio Setup, then follow the on-screen instructions
To connect a device to your product:
- On the system console, press the Setup button
Tip: If the system menu does not appear on your TV, be sure the correct TV input is selected - On the remote control, scroll down to select Device Management, then press the OK button
- Select Add, then press the OK button
- Follow the on-screen instructions to connect the device.
How do I connect to Wi-fi?
Enter Setup mode.
If a Bose app or instructions ask you to put your system in Setup mode:
- Power on your product
- On the remote control, press the SETUP button
Tip: If the system menu does not appear on your TV, be sure the correct TV input is selected - From the menu, select NETWORK SETUP and follow the on-screen instructions
- For next steps, refer to the Bose app or instructions that asked you to enter Setup mode.
How do I set up the SoundTouch App?
To set up your system using the SoundTouch app:
Before you begin
- If using an iOS device, turn on Bluetooth® in the device settings
- If prompted to allow Location Service or Local Access Network permissions for the app, allow them
Tip: These are used so the app can detect and control your product. If you do not allow them, the app will not find your product
Setting up your system
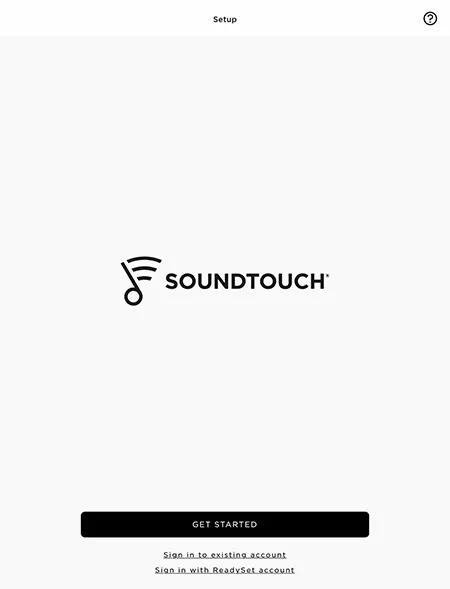
- Open the SoundTouch app
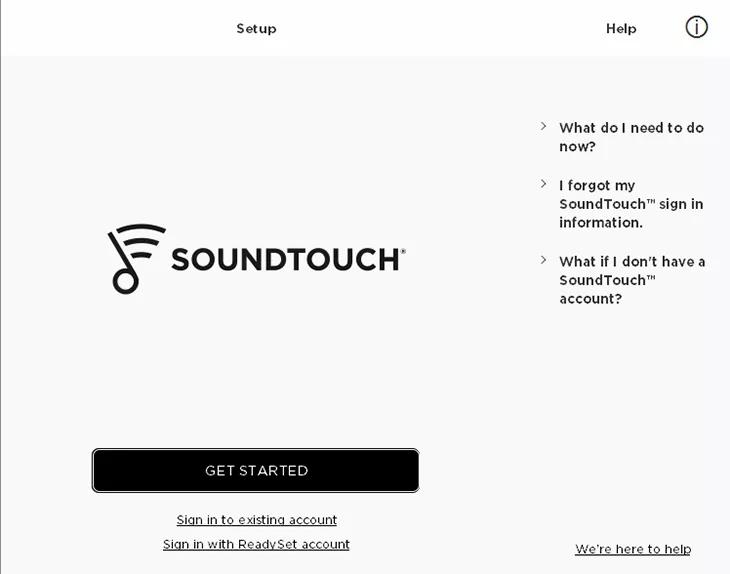
- Click Sign in to existing account or GET STARTED to create an account. Then follow the app instructions to log in
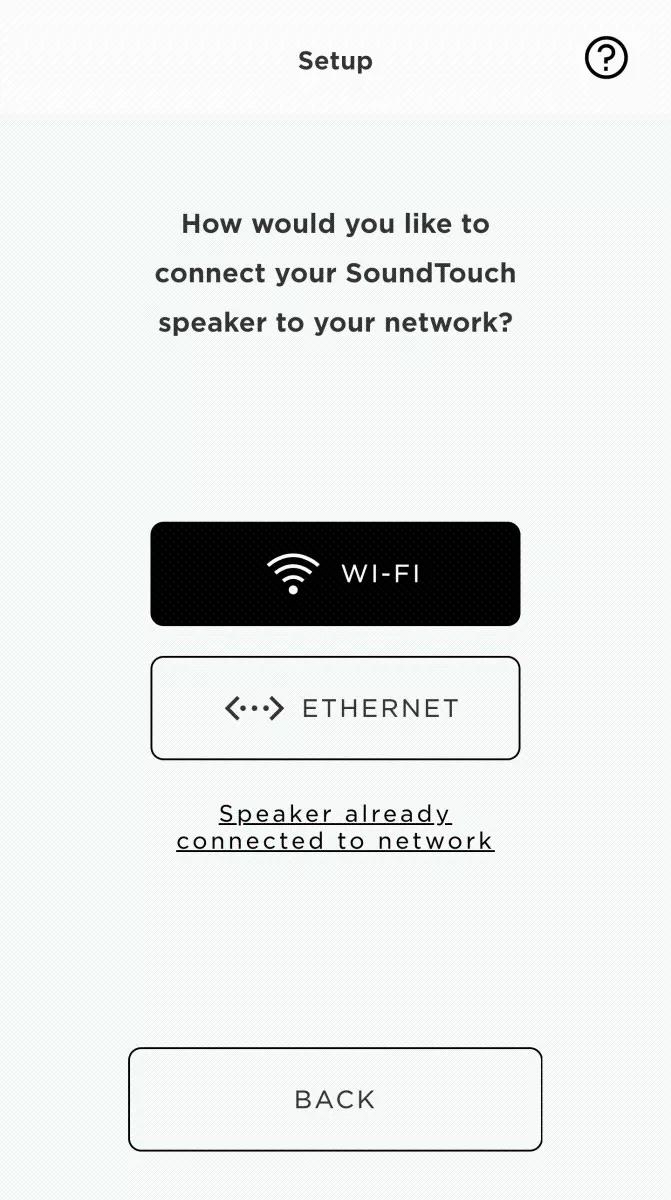
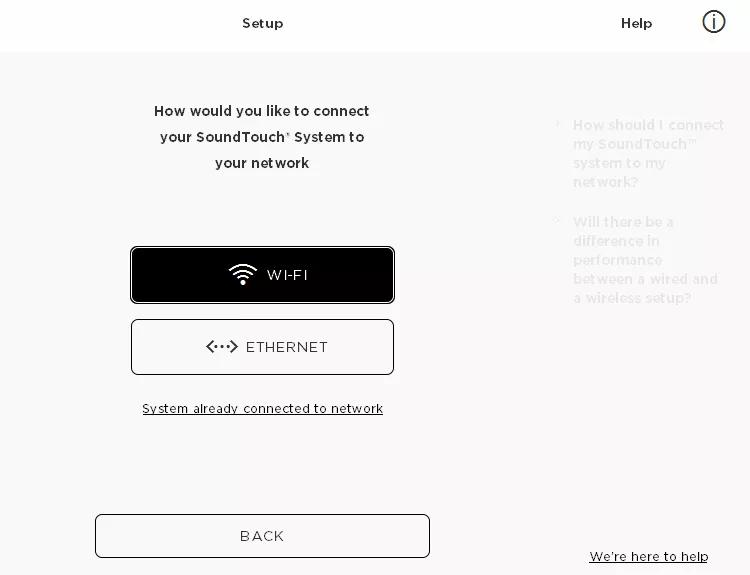
- Tap WI-FI and wait while the app searches for networks
- Connect your device to the Bose SoundTouch network:
- If the app prompts you to put your system in setup mode, follow the app instructions to do so
- Android devices should automatically connect to the network. If not, go to the device Wi-Fi settings and select the Bose network
- iOS devices with prompt you to go to the device Wi-Fi settings and select the Bose network
- If you don't see the Bose network, tap I DO NOT SEE THIS NETWORK for instructions on putting your product in setup mode, then go to the device Wi-Fi settings and connect to the Bose network
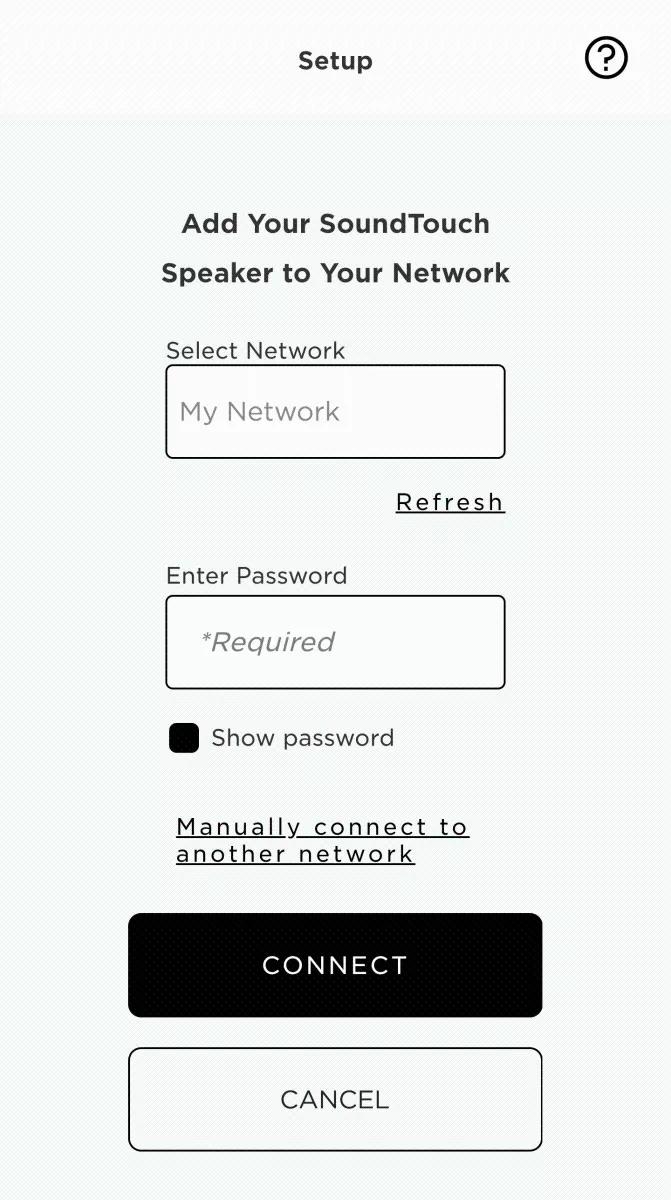
- Tap the Select Network field to choose your network, then enter the password and tap CONNECT
Tip: If your network doesn't appear, tap Refresh to re-scan for available networks
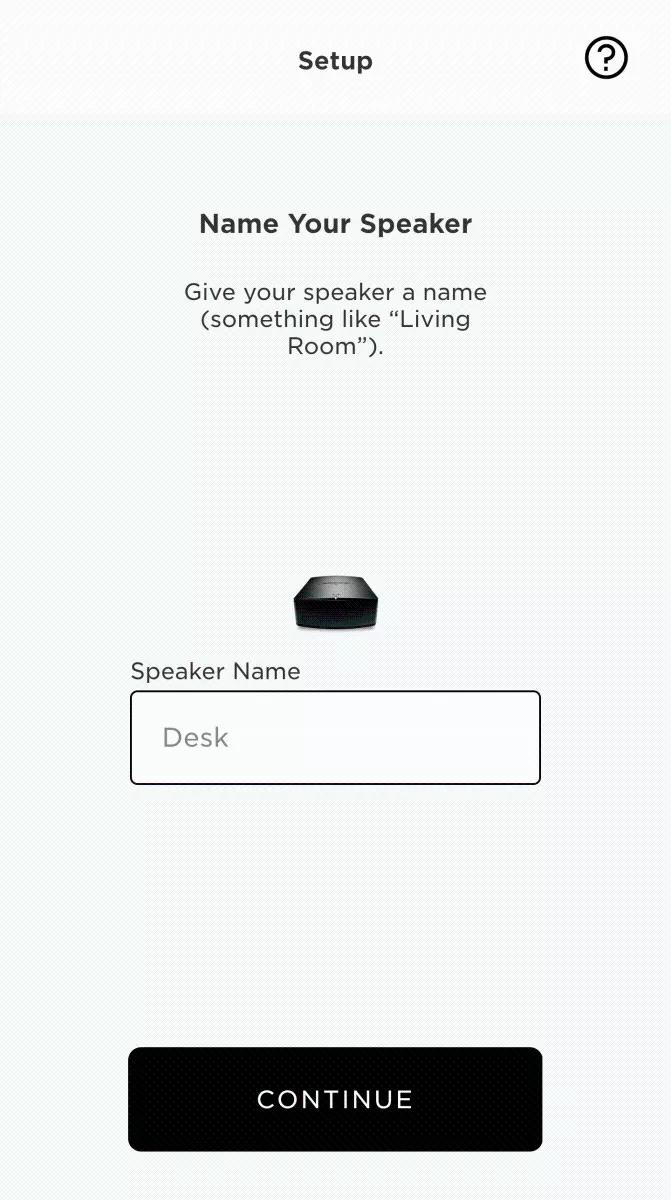
- Enter a name for your system (or leave the name unchanged), then tap CONTINUE
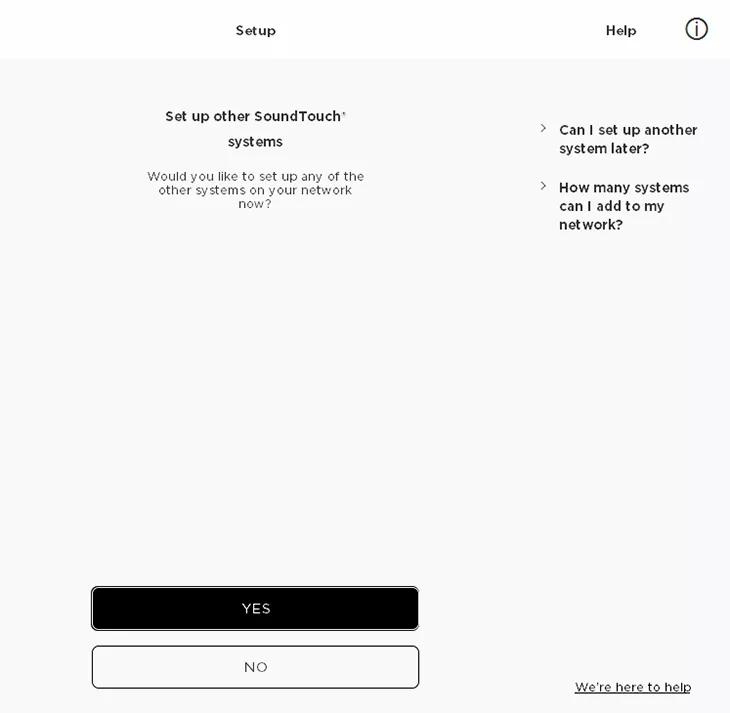
- If you need to connect another system, tap YES and repeat these steps. If not, tap NO to finish.
To set up your system using a computer and a USB cable:
- On a computer, open the SoundTouch app
- Click Sign in to existing account or GET STARTED to create an account. Then follow the app instructions to log in
- Click WI-FI
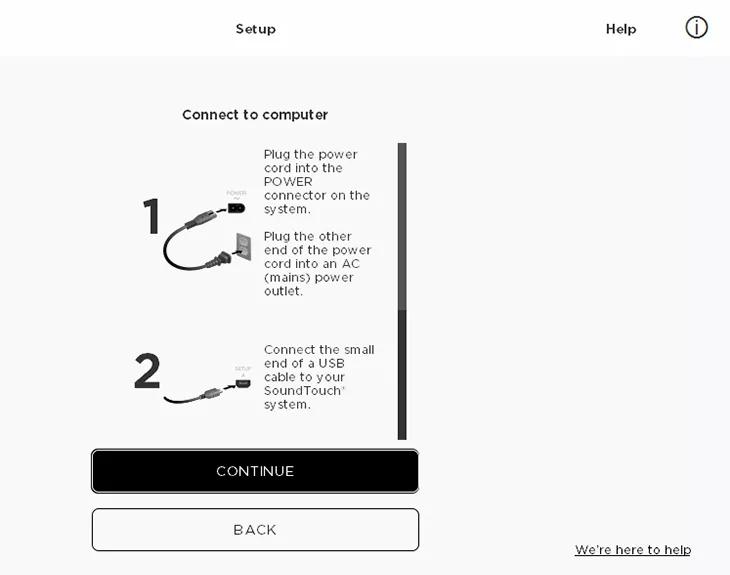
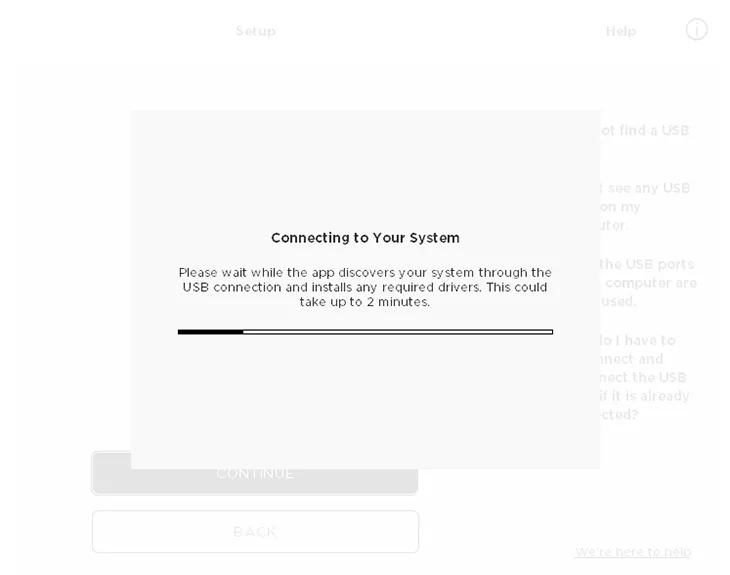
- When prompted, connect a USB cable between the computer and your SoundTouch system
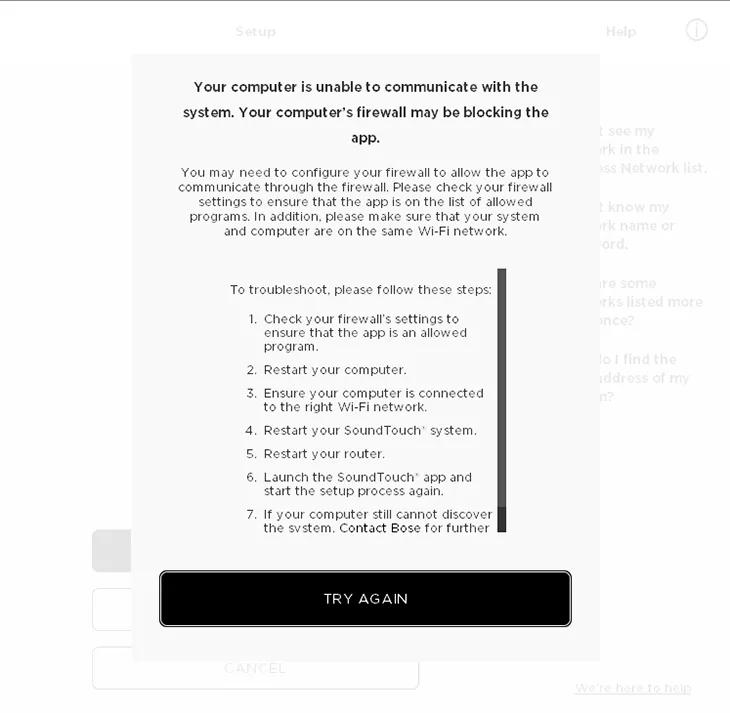
- Click CONTINUE and wait for the system to be detected
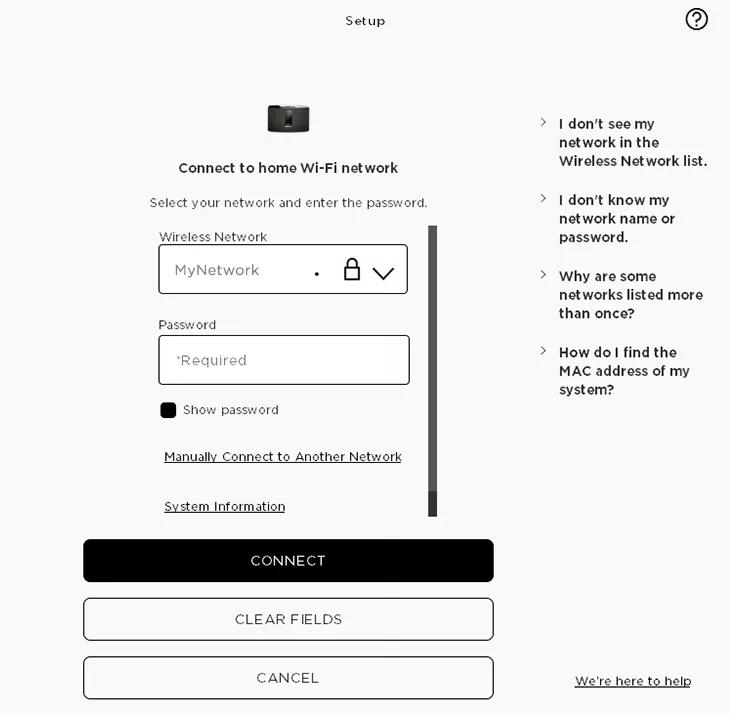
- Select your home wireless network from the drop-down menu and enter the network password
- Once your system connects, disconnect the USB cable from the computer so the computer reconnects to the home wireless network
Tip: The Wi-Fi indicator on your system blinks white while connecting and solid white once connected
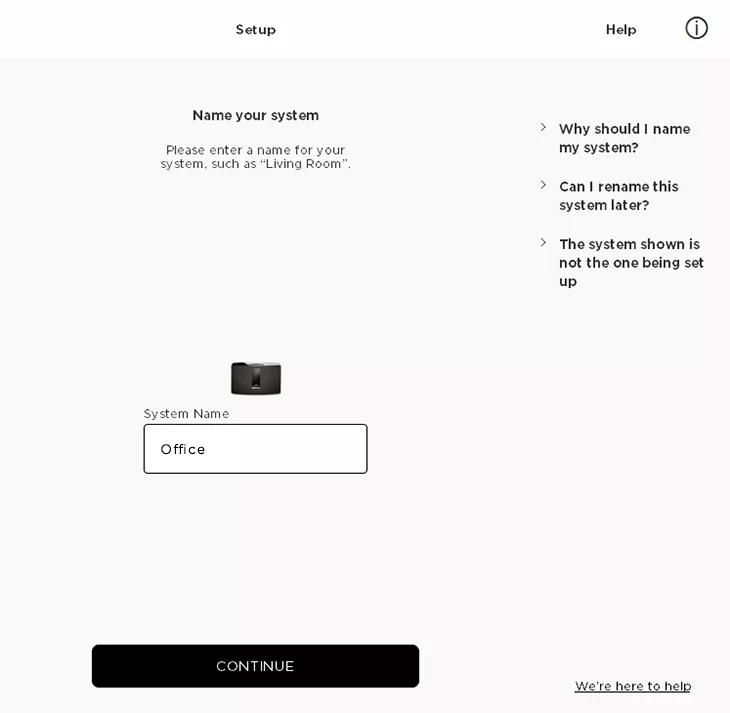
- Enter a name (or leave the name unchanged), then click CONTINUE
- If you have another system to setup, click YES to set it up; if not, click NO to exit.
Where should I place my speakers?
Placement suggestions:
Front speakers

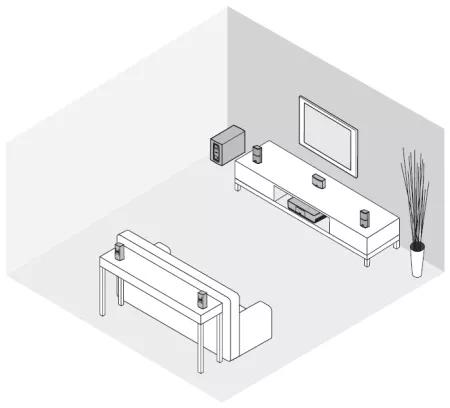
- Place one speaker to the left and one speaker to the right of the TV
- Keep each speaker within 3 feet of the TV, if possible
- Keep speakers at least 3 feet apart
- Aim the speakers toward the listening area
- When placing the speakers in an enclosed bookcase shelf, position them at the front edge of the shelf
- Place the center speaker on a stable and level surface directly above or below the TV
- The rear (surround) speakers should be located in the rear half of the room, preferably behind the listener
- Place the speakers at ear level or higher if possible
- Place the console near the TV. Do NOT place the TV on top of the console
- Make sure there is an AC (mains) outlet nearby
- Stand the Acoustimass module on its rubber feet along the same wall as the TV, or along any other wall in the front third of the room
- Do not block the vent openings at the back of the Acoustimass module. This could cause the module to overheat
- The Acoustimass module can safely sit on its side, but do not stand it on the end with the port or on the end opposite the port
- The Acoustimass module is not magnetically shielded, and must be placed at least 18 to 24 inches from a TV monitor
Note: Only CRT style TVs are affected. This includes tube style TVs and rear projection with CRTs - Choose a stable and level surface. Vibration can cause the Acoustimass module to move, particularly on smooth surfaces like marble, glass or highly polished wood
- Make sure there is an AC (mains) outlet nearby
- Place the SoundTouch wireless adapter within 1 to 6 ft. (.3 to 1.8 m) of the console
- Do not connect the adapter to the console until prompted by the SoundTouch app