Was this helpful?
Connecting to a Wi-Fi network | SoundTouch® 10 wireless speaker
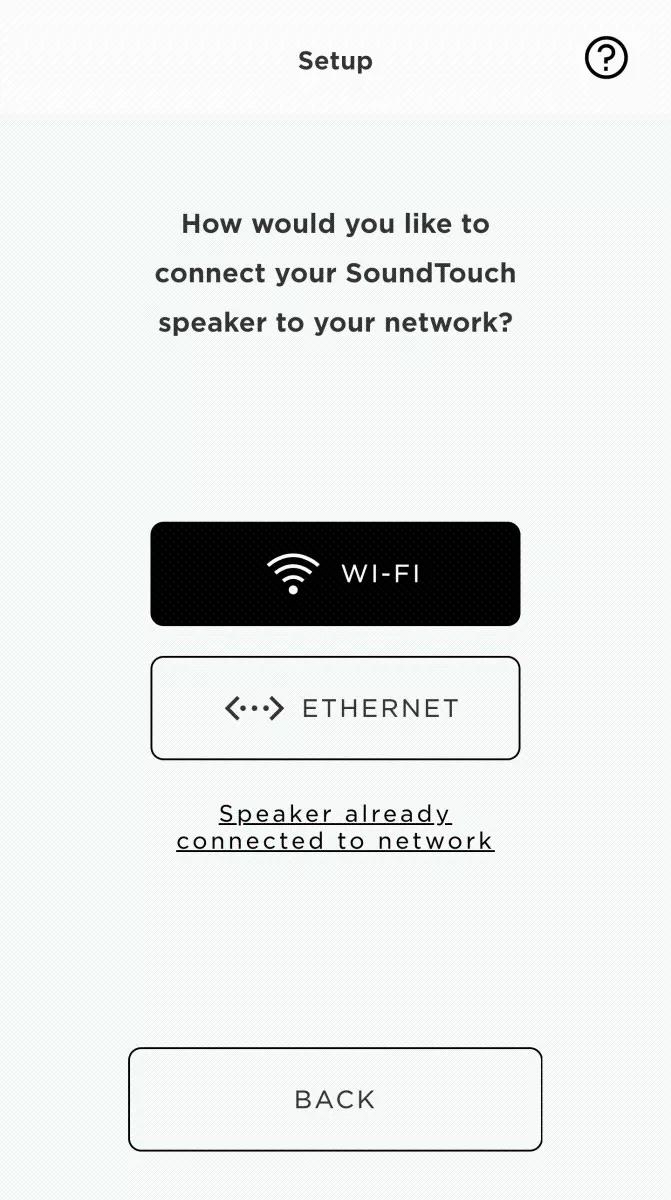
How would you like to connect your network?
Using the normal connection method
See the set up instructions for your product.
For more info, see Setting up your product.
By updating network info (i.e. after changing a router, network name or password)
To connect a new or modified network:
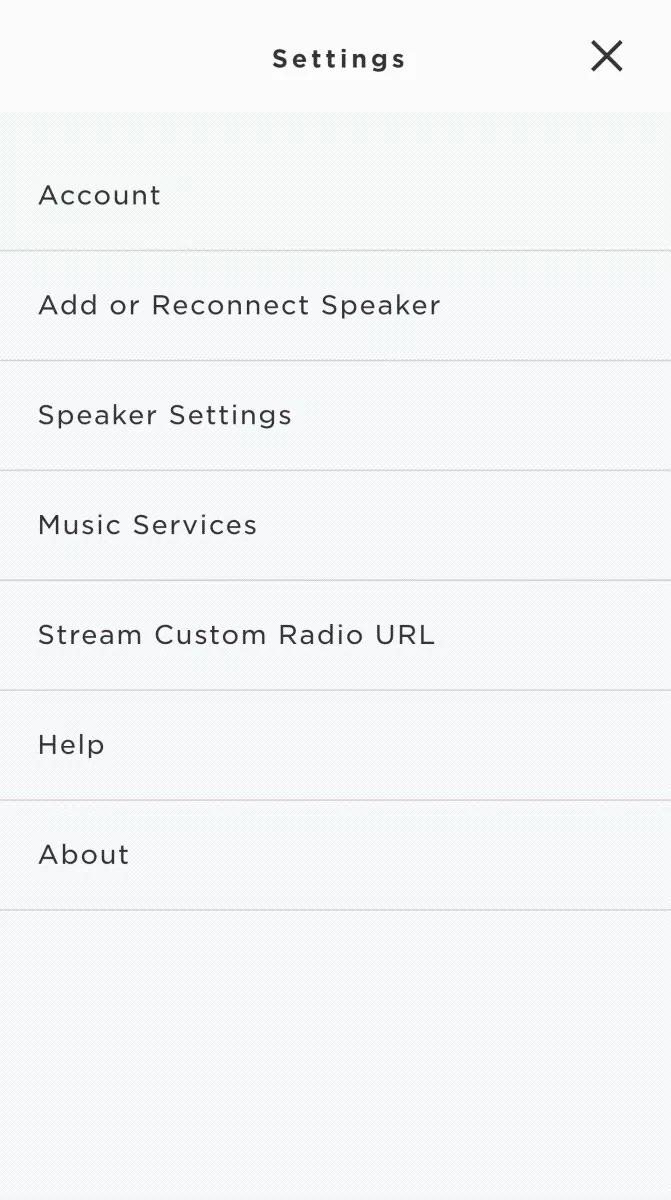
- In the SoundTouch app menu, tap "Settings"
Tip: to open the app menu, tap the menu icon ☰ in the upper-left
- Tap "Speaker Settings"
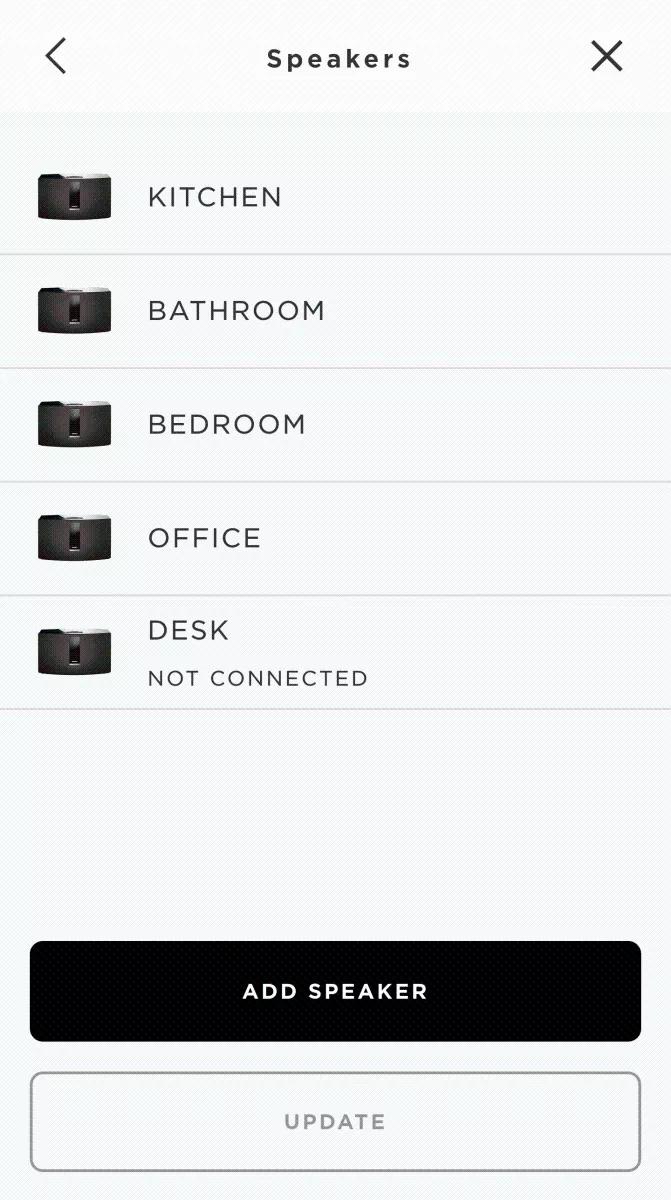
- Tap the system to connect
Note: A new Wi-Fi network cannot be added to a system that shows NOT CONNECTED system. For these systems, use the alternate network connection method. For more info, see Connecting to a Wi-Fi network
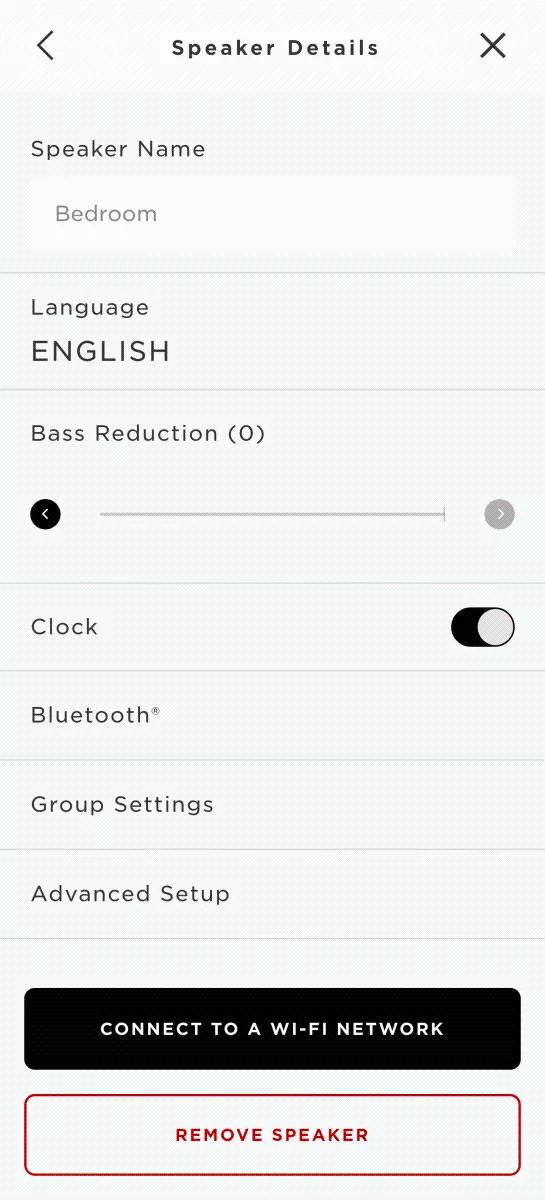
- Tap "CONNECT TO A WI-FI NETWORK"
- Tap "Wi-Fi" and wait while the app searches for networks
- On the device running the app, connect to the "Bose SoundTouch network"
- For Android devices, the device should connect automatically. If is does not, go to the device Wi-Fi settings and select the Bose network
- For iOS devices, the app instructs you to go to the device Wi-Fi settings and select the Bose network
- If the Bose network is not available on the device, select "I DO NOT SEE THIS NETWORK" for help putting your system in setup mode, then go to the device Wi-Fi settings and connect to the Bose network
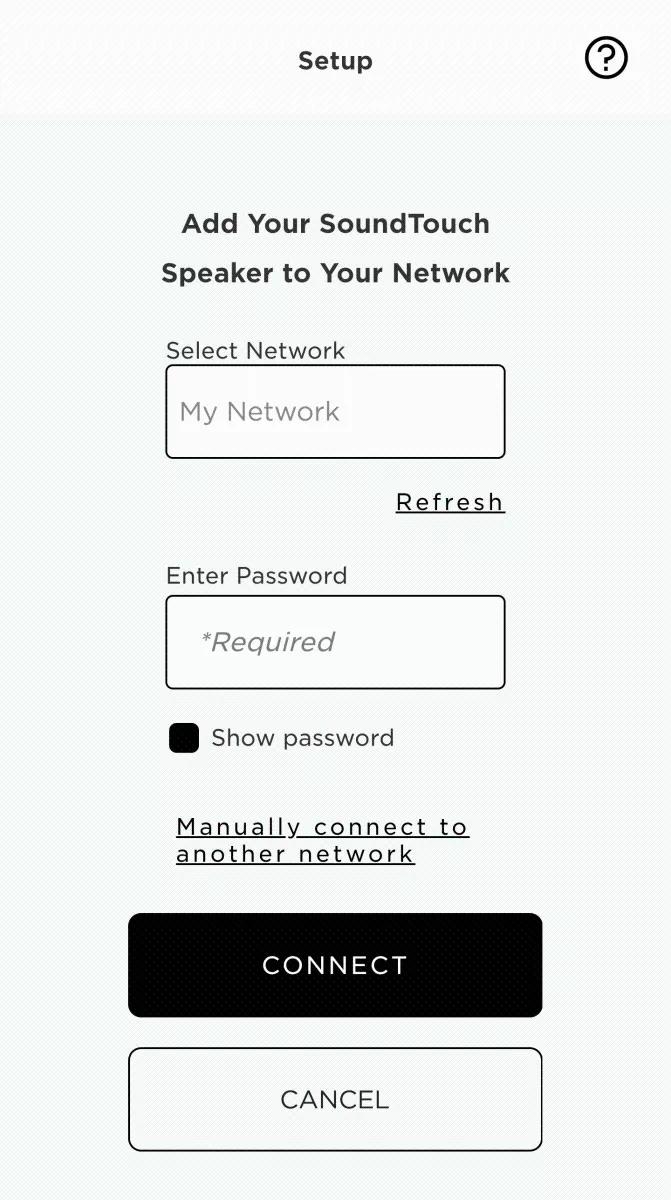
- Tap on the "Select Network" field to select a network to connect. (If you don't see your network, select "Refresh" and try again)
- Enter the network password
- Tap "CONNECT" and wait while the system connects
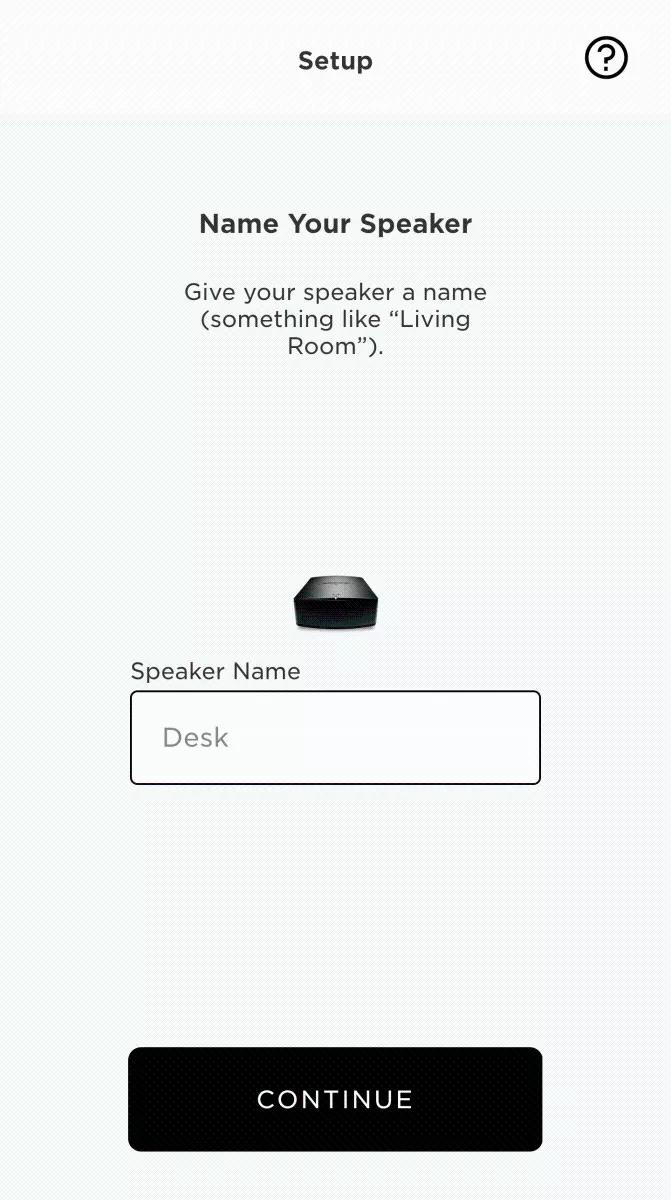
- Enter a name for your system (or use the default name), then tap "CONTINUE"
- If you need to change the network on another system, select "YES" when prompted, then select the other system and repeat these steps. If not, select "NO" to finish
Using the alternate web browser connection method (i.e. if app setup doesn't work)
To connect to Wi-Fi (alternate method):
Note: If these instructions do not work, be sure your speaker is up-to-date. For more info, Updating the software or firmware of your product.
- Restore the default speaker settings. For more info, see Resetting your product
- On the back of your speaker, disconnect all cables but the power cord
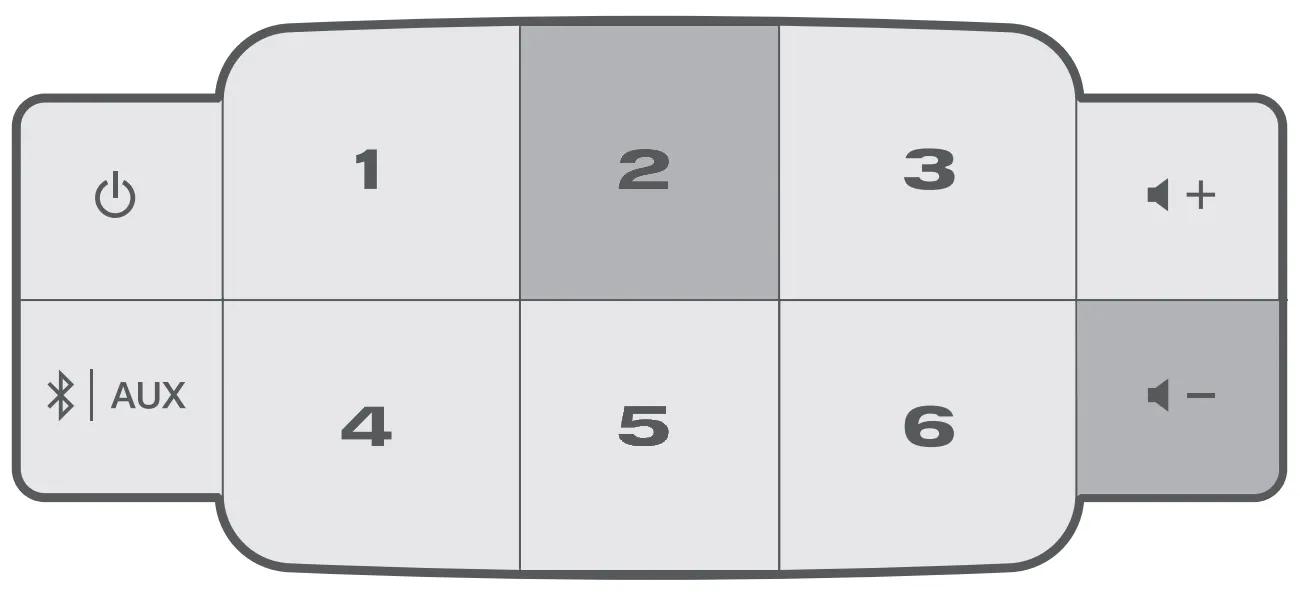
- On the top of your speaker, press and hold the 2 and Volume - buttons for about five seconds until the Wi-Fi light glows solid amber
- On a computer or mobile device, go to the Wi-Fi settings and connect to Bose SoundTouch Wi-Fi network
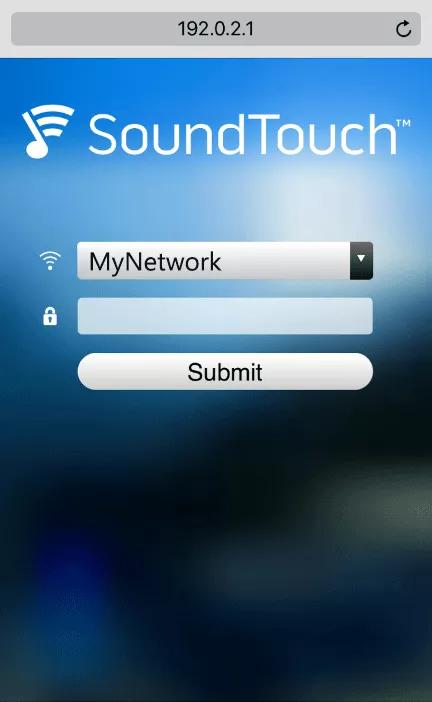
- Open a web browser and go to http://192.0.2.1 to view the setup screen
- Select your network and enter the network password, then select Submit
- Wait while your speaker connects: If successful, a check appears; if unsuccessful, an X appears
- Once connected, unplug your speaker for 30 seconds
- Open the SoundTouch app and follow the instructions to connect your speaker to your Bose account. For more info, see Setting up your product.
Tip: When prompted, select SYSTEM ALREADY CONNECTED TO NETWORK.
Note: If the device doesn't automatically reconnect to your network, go to the device Wi-Fi settings and select your network.
Using the alternate USB drive connection method (i.e. if app setup doesn't work)
To enter your network credentials using the USB port on your system:
This process requires a USB drive formatted with FAT32 or NTFS.
- Determine the security type for your network (unsecured, WPA/WPA2 or WEP)
- Connect a USB drive to a computer
- On the computer, open a text editor (e.g. Notepad for Windows or TextEdit for Mac)
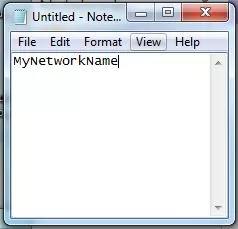
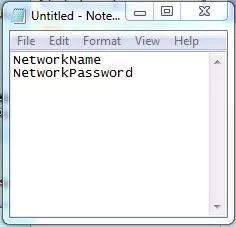
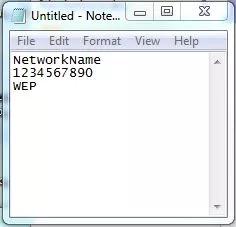
- Enter the info shown below for your network security type:
Tip: Each line of text must be entered exactly with correct capitalization and no added spaces or line breaks
Unsecured Network- Line 1: SSID
WPA/WPA2 Secured Network- Line 1: SSID
- Line 2: Pass phrase
WEP Secured Network- Line 1: SSID
- Line 2: Pass phrase / WEP key
- Line 3: "WEP" (without quotations; capitalization is irrelevant)
- Line 1: SSID
- Save the text file to the USB drive as network.txt
- Eject the USB drive from the computer
- Power on your SoundTouch system
- On the back of your system, connect the USB drive to the SETUP, SETUP B or SERVICE jack
Note: systems with a micro USB jack require a micro USB adapter to connect the USB drive - When the system reboots after about 30 seconds, remove the USB drive.